
How to make a city and state field in Gravity Forms
Step by step guide to adding a list of Brazilian cities and states to Gravity Forms.


Step by step guide to adding a list of Brazilian cities and states to Gravity Forms
Over the last few months, I've been working on increasing traffic and lead generation for Delta Containers.
We're using Gravity Forms, a very popular forms plugin for wordpress, to capture leads.
One of the problems with Gravity Forms is that it has no native support for location fields in Brazil.
To solve this problem, you can make use of the very handy script cidades-estados-js (see the repository here).
Here's how it turned out:
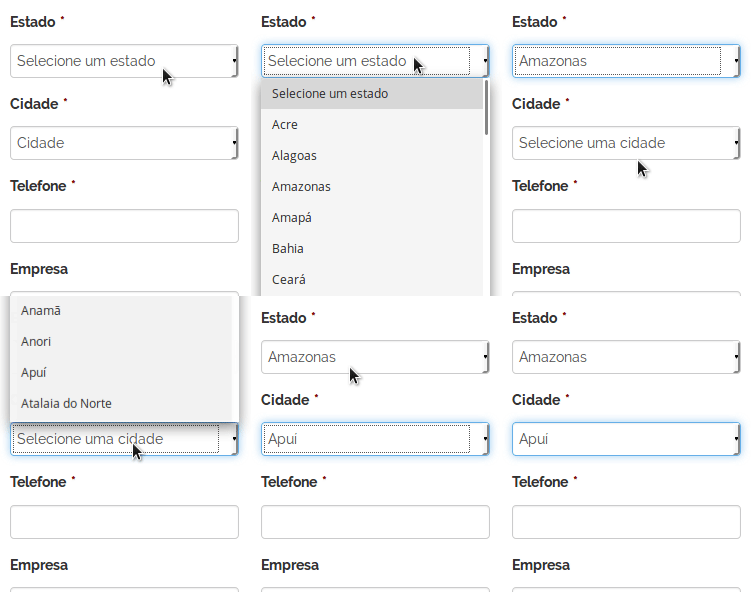
Step by step:
First: I'm assuming you have Gravity Forms installed and working. If you don't, see how to do it here.
Then, create a form with the data you want to capture. In my case, I added First Name, Last Name, E-mail, Phone, State and City
The State and City fields must be created as Standard Fields - Drop Down.
Add a single option to both, with the same name as the field (city and state)
Save the form and click Preview
Right-click and select the "Inspect Element" option. Use the selector to find the field's ID. Save the IDs of the State and City fields. In my case they were input_13_15 and input_13_16.
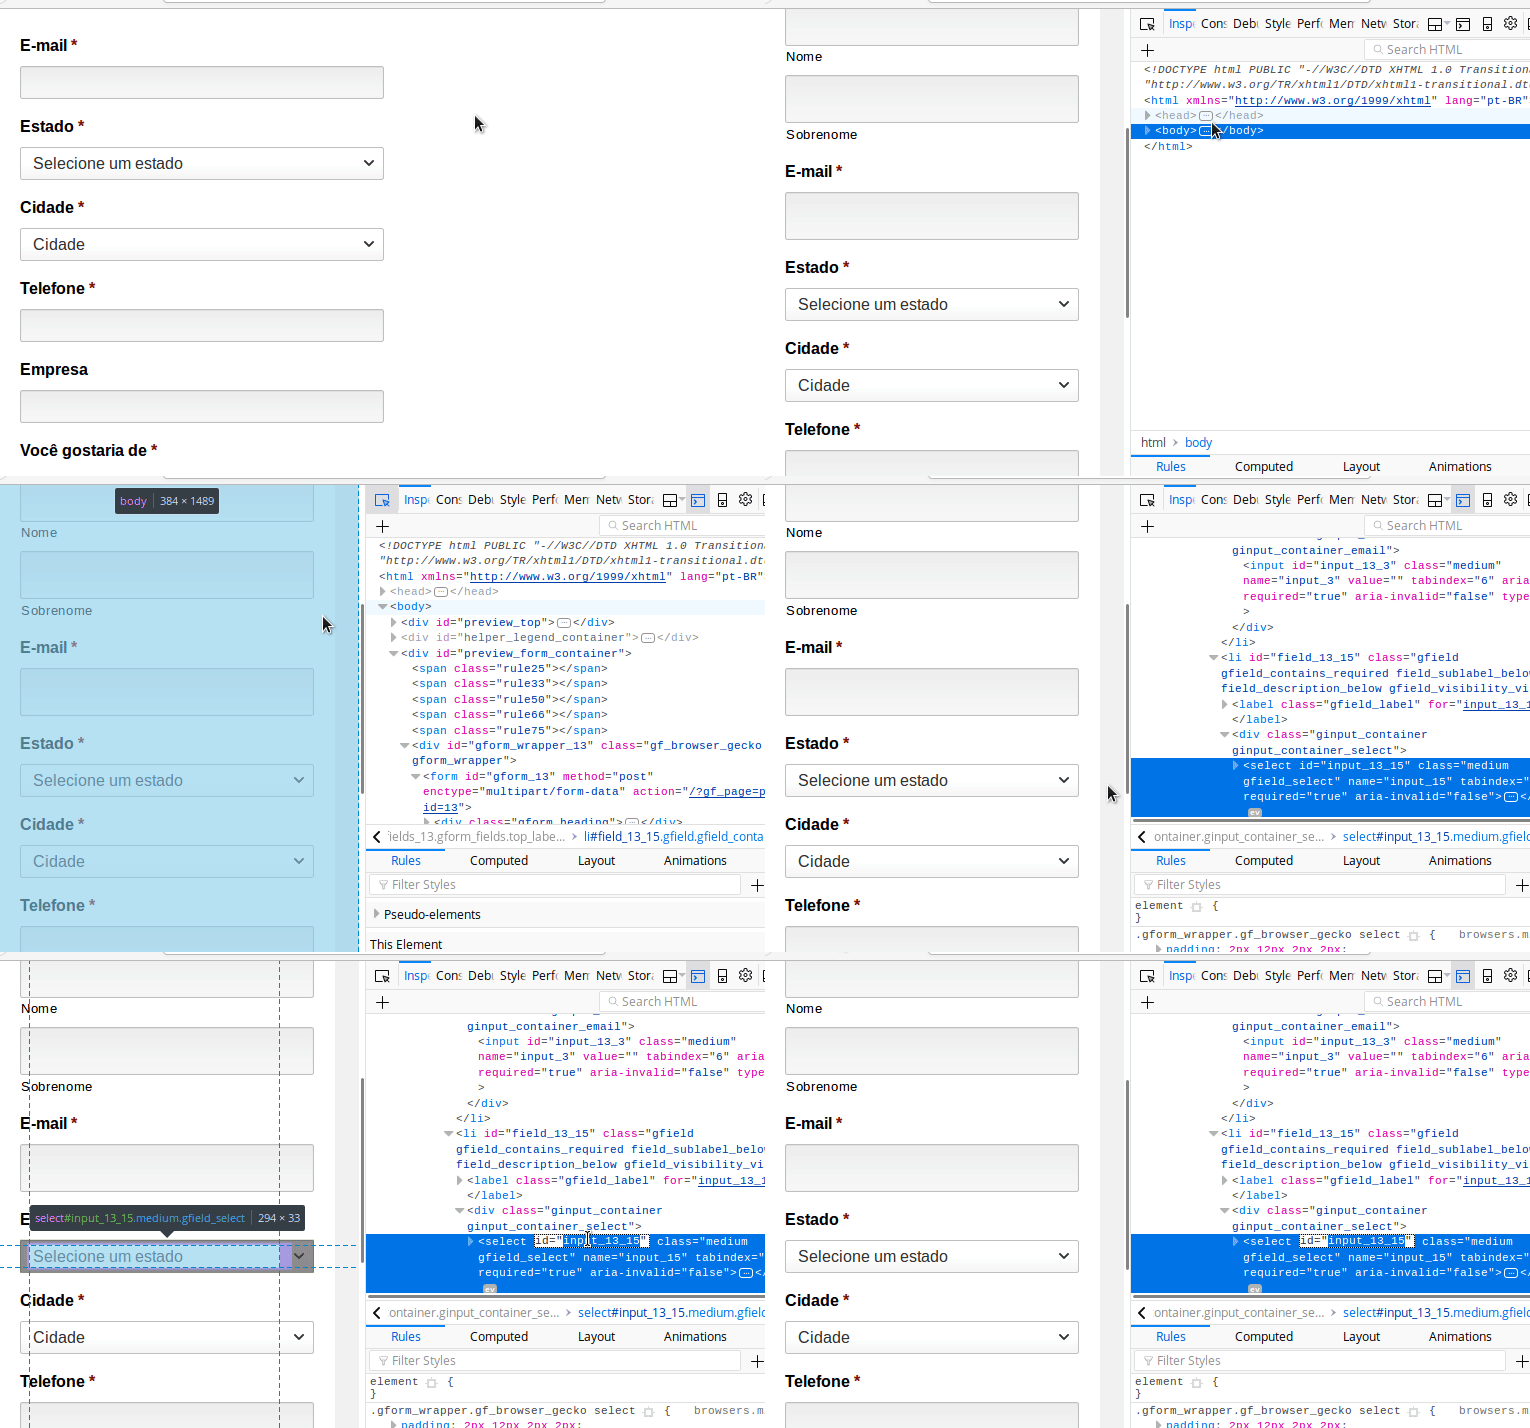
Close the preview page and go back to editing the form.
Now, add a Standard Field - HTML. It should be the last element of the form.
Paste the following code, replacing 'ID-DO-CAMPO-DE-ESTADO' with the ID you saved earlier.
<script src="https://www.adamante.com.br/validator.js"></script>
    <script>
            new dgCidadesEstados({
                estado: document.getElementById('ID-DO-CAMPO-DE-ESTADO'),
                cidade: document.getElementById('ID-DO-CAMPO-DE-CIDADE')
                });
   	</script>
PS: I'm hosting the script on this page. You're welcome to use it. If you prefer, download it and host it on your own server.
Update the form and test it with Preview again.
It should be working! :)